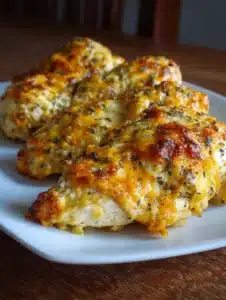
King’s Hawaiian Cheesecake Danish is one of those recipes that instantly takes me back to cozy weekends in the kitchen—when the smell of warm, buttery bread fills the air and everyone gathers around waiting for that first bite.
I’ve always loved transforming simple ingredients into something that feels bakery-worthy, and this recipe is exactly that. After testing several variations, I finally found the perfect balance: soft, slightly sweet Hawaiian rolls, a creamy cheesecake center, and a delicate vanilla glaze that ties everything together beautifully.
Unlike complicated pastries that require hours of prep, this one is surprisingly easy. It’s the kind of recipe you can whip up for brunch guests, a holiday morning, or even a last-minute dessert—and still impress everyone at the table.
Why You’ll Love This Easy and Delicious Recipe
- Ultra-soft texture – Hawaiian rolls create a fluffy, melt-in-your-mouth base
- Rich and creamy filling – The cheesecake layer is smooth, sweet, and perfectly balanced
- Quick and beginner-friendly – No complicated techniques required
- Perfect for any occasion – Breakfast, brunch, dessert, or even a snack
- Budget-friendly ingredients – Simple pantry staples
- Better than bakery versions – Fresh, warm, and customizable
Compared to traditional danishes, this version skips the hassle of laminated dough while delivering even better flavor and texture.
Table of Contents
Table of Contents
Ingredients
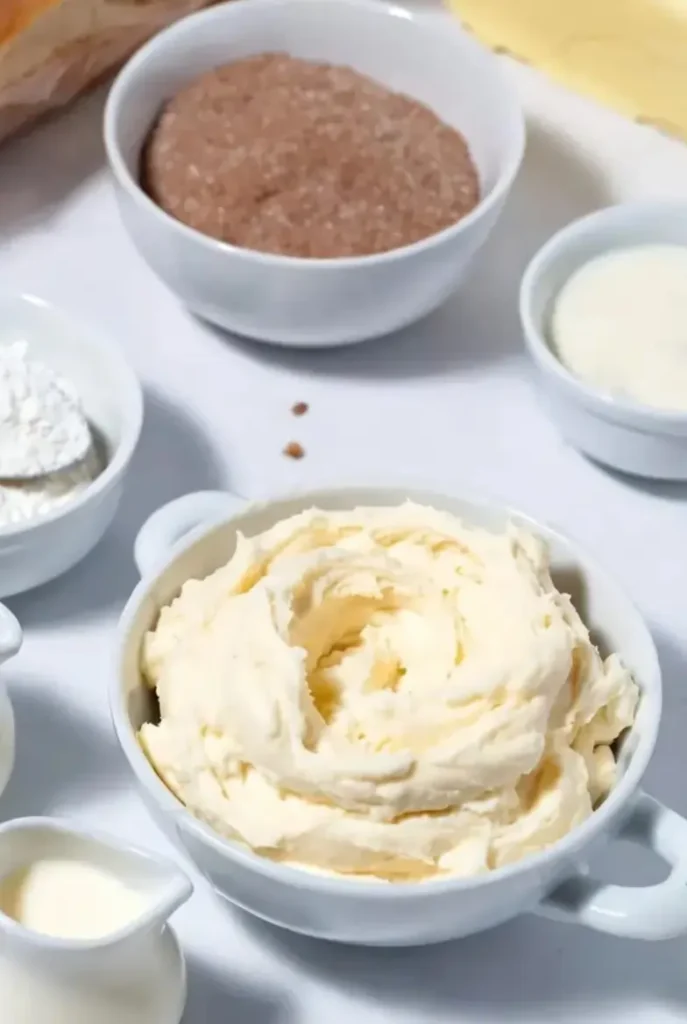
the Danish Base
- 1 package (12 count) Hawaiian rolls
- ½ cup salted butter (melted, divided)
- 2 tablespoons light brown sugar
- ½ teaspoon ground cinnamon
For the Cheesecake Filling
- 12 ounces prepared no-bake cheesecake filling
For the Vanilla Glaze
- 1 cup powdered sugar
- 2 tablespoons milk
- ½ teaspoon vanilla extract
Ingredient Notes & Substitutions
- Hawaiian rolls: Their natural sweetness is key, but brioche works too
- Butter: Adds richness and helps create a golden crust
- Cinnamon & sugar: Enhances warmth and depth
- Cheesecake filling: You can also use homemade cream cheese mixture
- Milk: Swap with cream for a richer glaze
Step-by-Step Instructions
Step 1: Prepare the Base
Preheat your oven to 350°F (175°C).
Slice the Hawaiian rolls horizontally as a whole slab (keep them connected).
Place the bottom half in a greased baking dish.
Step 2: Add Butter and Flavor
Brush half of the melted butter over the base.
Mix brown sugar and cinnamon, then sprinkle evenly.
Pro Tip: This layer adds a subtle caramelized flavor—don’t skip it!
Step 3: Add Cheesecake Filling
Spread the cheesecake filling evenly across the rolls.
Make sure it reaches the edges for a consistent bite.
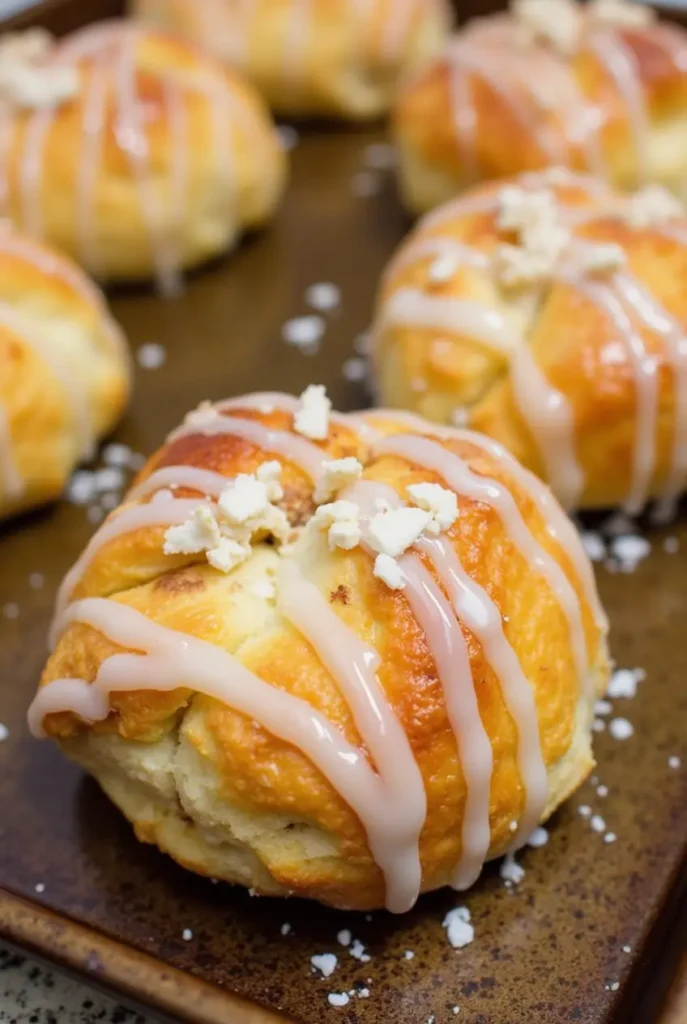
Step 4: Top the Rolls
Place the top half of the rolls back on.
Brush the remaining butter over the top.
Step 5: Bake to Perfection
Bake for 20–25 minutes until golden brown.
The top should be slightly crisp while the inside stays soft and creamy.
Step 6: Make the Glaze
Whisk powdered sugar, milk, and vanilla extract until smooth.
Step 7: Finish and Serve
Drizzle the glaze over the warm danish.
Let it sit for 5 minutes before slicing.
Understanding the Magic of This Recipe
What makes King’s Hawaiian Cheesecake Danish so special is the contrast of textures and flavors.
The rolls provide a soft, slightly sweet base, while the cheesecake filling adds richness. When baked, the butter and sugar create a lightly crisp top layer that mimics a traditional pastry.
It’s essentially a shortcut danish—but with even better results.
How to Add More Flavor
If you want to elevate this recipe even further, try these ideas:
- Add fresh berries like strawberries or blueberries
- Mix lemon zest into the cheesecake filling
- Drizzle with caramel or chocolate sauce
- Sprinkle toasted coconut on top
- Add a layer of fruit preserves before the cheesecake
Each variation creates a completely new flavor profile.
Helpful Tips from My Kitchen
- Use a sharp serrated knife to slice rolls evenly
- Don’t overbake—this keeps the filling creamy
- Let it rest slightly before cutting for cleaner slices
- Serve warm for the best texture and flavor
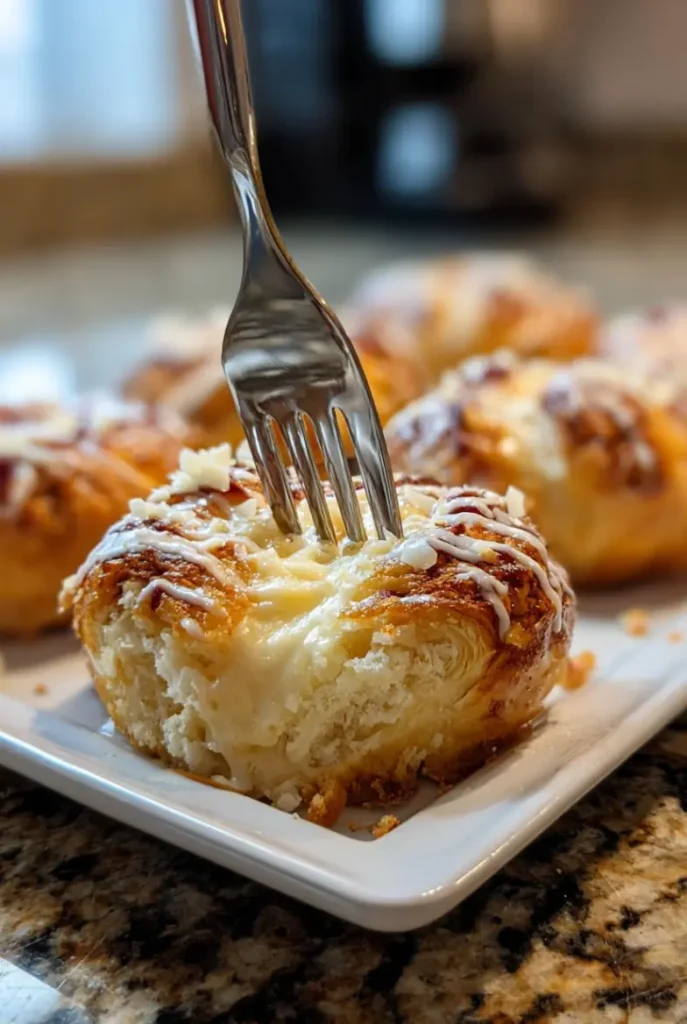
Make-Ahead, Storage & Freezing Tips
Make-Ahead
You can assemble the danish the night before and refrigerate. Bake fresh in the morning.
Storage
- Store in an airtight container
- Keeps well in the fridge for up to 3 days
Freezing
- Freeze without glaze for best results
- Reheat in the oven before serving
Helpful Expert Tips for Best Results
- Always use room temperature filling for easy spreading
- Brush butter evenly to avoid dry spots
- Cover loosely with foil if the top browns too quickly
- Use a glass baking dish for even heat distribution
Follow me on pinterest to see more recipes
Frequently Asked Questions
Can I make King’s Hawaiian Cheesecake Danish ahead of time?
Yes, assemble it in advance and bake when ready. This makes it perfect for busy mornings.
How long does it last in the fridge?
It stays fresh for about 3 days when stored properly.
Can I use homemade cheesecake filling?
Absolutely! A simple mix of cream cheese, sugar, and vanilla works great.
Can I make it without glaze?
Yes, but the glaze adds sweetness and enhances presentation.
If you love recipes like Pineapple OrangeSwirl Cheesecake, this one will quickly become another favorite in your rotation. It’s simple, indulgent, and absolutely unforgettable.
Conclusion
King’s Hawaiian Cheesecake Danish is the perfect combination of ease, flavor, and comfort. With its soft, buttery base and creamy filling, it delivers bakery-quality results without the effort.
Whether you’re making it for a weekend brunch, a holiday treat, or just because you’re craving something sweet, this recipe is guaranteed to impress.
Give it a try, share it with your loved ones, and don’t forget to explore more recipes like Pineapple Orange Swirl Cheesecake for even more delicious inspiration.
Print
Irresistible King’s Hawaiian Cheesecake Danish
- Total Time: 35 minutes
- Yield: 12 slices
- Diet: Vegetarian
Description
A soft, buttery King’s Hawaiian Cheesecake Danish filled with creamy cheesecake and topped with sweet vanilla glaze.
Ingredients
For the Danish Base
- 1 package (12 count) Hawaiian rolls
- ½ cup salted butter (melted, divided)
- 2 tablespoons light brown sugar
- ½ teaspoon ground cinnamon
For the Cheesecake Filling
- 12 ounces prepared no-bake cheesecake filling
For the Vanilla Glaze
- 1 cup powdered sugar
- 2 tablespoons milk
- ½ teaspoon vanilla extract
Instructions
Preheat your oven to 350°F (175°C).
Slice the Hawaiian rolls horizontally as a whole slab (keep them connected).
Place the bottom half in a greased baking dish.
Brush half of the melted butter over the base.
Mix brown sugar and cinnamon, then sprinkle evenly.
Pro Tip: This layer adds a subtle caramelized flavor—don’t skip it!
Spread the cheesecake filling evenly across the rolls.
Make sure it reaches the edges for a consistent bite.
Place the top half of the rolls back on.
Brush the remaining butter over the top.
Bake for 20–25 minutes until golden brown.
The top should be slightly crisp while the inside stays soft and creamy.
Whisk powdered sugar, milk, and vanilla extract until smooth.
Drizzle the glaze over the warm danish.
Let it sit for 5 minutes before slicing.
- Prep Time: 10 minutes
- Cook Time: 25 minutes
- Category: Brunch
- Method: Baking
- Cuisine: American