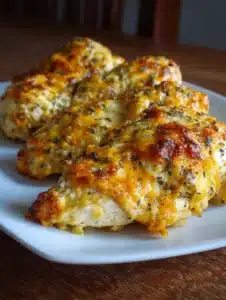
If you’ve been scrolling through food videos lately and keep stopping every single time you see someone pulling apart a gorgeous, fanned-out roasted potato — you’re not alone. The Bloomin’ Potato has taken over the internet, and once you make it yourself, you’ll completely understand why.
It’s crispy on the outside. Fluffy and tender on the inside. Seasoned with a warm, smoky spice blend that makes your kitchen smell absolutely incredible. And that dipping sauce? Bold, tangy, and creamy — it’s the kind of sauce you’ll want to put on everything.
I’m Lily Anne, and today we’re making the most fun, most satisfying potato recipe I’ve ever put on this blog. Whether you’re serving these at a game day party, a casual Friday night at home, or just because you deserve a really great snack — this one is for you.
Let’s bloom some potatoes.
What Is a Bloomin’ Potato?
Think of it as the potato world’s answer to the famous Bloomin’ Onion. You take a whole potato, score it deeply in a fan pattern almost all the way through, then roast it in the oven until every single layer separates, crisps up, and turns golden. The result looks like a beautiful blooming flower — dramatic, gorgeous, and completely delicious.
It’s a showstopper that’s secretly very simple to make. Once you nail the cutting technique (which I’ll walk you through step by step), the oven does all the heavy lifting.
Why This Recipe Is Going Viral (And Deserves To)
There’s a reason this potato keeps popping up on Pinterest boards and TikTok feeds. A few reasons, actually:
- The presentation is stunning. It genuinely looks like something you’d order at a restaurant, but it comes out of your own oven.
- The texture is unbeatable. You get crispy, chip-like edges AND soft, pillowy potato interior in every single bite.
- It’s endlessly customizable. The spice blend and sauce are just a starting point — this potato takes on any flavor you give it.
- It feeds a crowd easily. Make a sheet pan full and everyone can pull apart their own bloom.
- Kids absolutely love it. Something about pulling apart a bloomin’ potato is just fun, and that gets picky eaters excited.
Table of Contents
Table of Contents
Ingredients You’ll Need
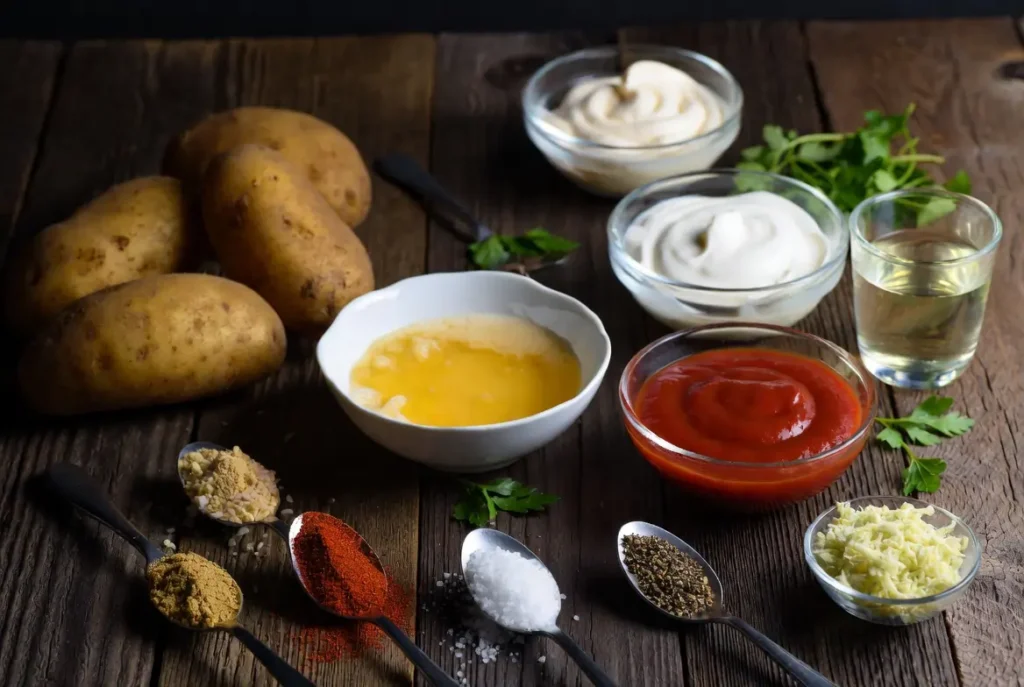
For the Bloomin’ Potatoes:
- 4 russet or Yukon gold potatoes (6 to 8 oz each)
- ¼ cup unsalted butter, melted
- 1 teaspoon garlic powder
- 1 teaspoon onion powder
- ½ teaspoon paprika
- ¼ teaspoon salt
- ¼ teaspoon ground black pepper
For the Dipping Sauce:
- ½ cup mayonnaise
- ¼ cup sour cream
- 2 tablespoons ketchup
- 1 tablespoon prepared horseradish
- 1 tablespoon white vinegar
- 1 teaspoon garlic powder
- 1 teaspoon onion powder
- ½ teaspoon paprika
- ½ teaspoon salt
- ½ teaspoon ground black pepper
How to Add More Flavor
The base recipe is already wonderfully seasoned, but here are a few tricks I use to push the flavor even further:
- Brush with butter twice — once before roasting and once halfway through. That second coat seeps into all the opened layers and creates extra crispy, buttery edges you won’t be able to stop pulling apart.
- Add a pinch of cayenne to the spice blend if you like a little heat. Just a small pinch makes a noticeable difference without overwhelming.
- Stuff the crevices. After the first 30 minutes of roasting, use a brush or spoon to push extra butter, minced garlic, or even shredded cheese down between the layers before finishing in the oven. Life-changing.
- Smoked paprika over regular gives a deeper, almost barbecue-like warmth to the seasoning that tastes like it came off a grill.
- Let the sauce sit for at least 20 minutes before serving. The flavors come together and mellow beautifully — it tastes even better the longer it rests.
Step-by-Step Instructions
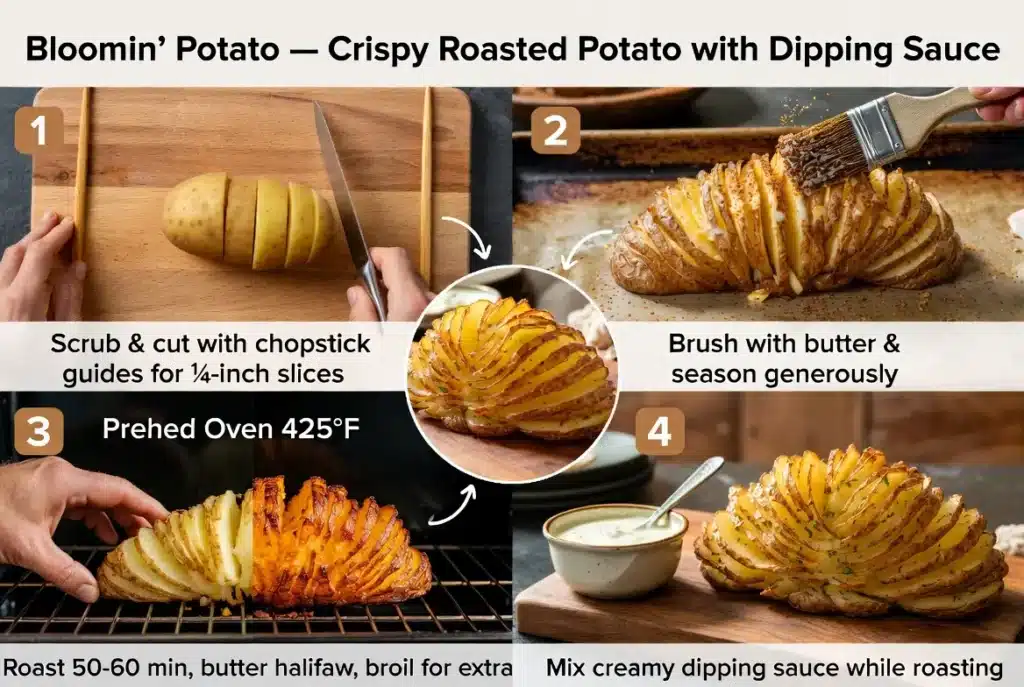
Step 1: Prep Your Potatoes
Preheat your oven to 425°F (220°C). Line a baking sheet with parchment paper.
Scrub your potatoes well and dry them completely. Place a potato on your cutting board with a chopstick or wooden spoon handle on each side — these act as guides so your knife doesn’t cut all the way through. Make vertical cuts across the potato at about ¼-inch intervals, then rotate 90 degrees and make the same cuts crosswise, creating a grid. The chopsticks stop the knife before it reaches the bottom, keeping the potato intact.
Repeat with all four potatoes.
Step 2: Season Generously
Gently fan open the cuts with your fingers to separate the layers slightly. Place the potatoes cut-side up on the prepared baking sheet.
Mix together the garlic powder, onion powder, paprika, salt, and pepper. Brush the melted butter all over each potato, getting it down into the cuts as much as possible. Sprinkle the spice blend generously over the top, patting it gently to help it adhere.
Step 3: Roast Low, Then High
Place the baking sheet in the oven and roast at 425°F for 50–60 minutes total, depending on the size of your potatoes. At the 30-minute mark, brush with another coat of melted butter to encourage even more crisping. The potatoes are done when the outer layers are deeply golden and crispy, and a knife or skewer slides easily into the center.
For extra crispy edges in the last 5 minutes, switch your oven to broil — but stay close and keep an eye on them.
Step 4: Make the Dipping Sauce
While the potatoes roast, whisk together the mayonnaise, sour cream, ketchup, horseradish, white vinegar, garlic powder, onion powder, paprika, salt, and black pepper in a small bowl until completely smooth. Taste and adjust the seasoning — add more horseradish if you want more kick, more ketchup if you prefer it sweeter.
Cover and refrigerate until ready to serve.
Step 5: Serve and Enjoy
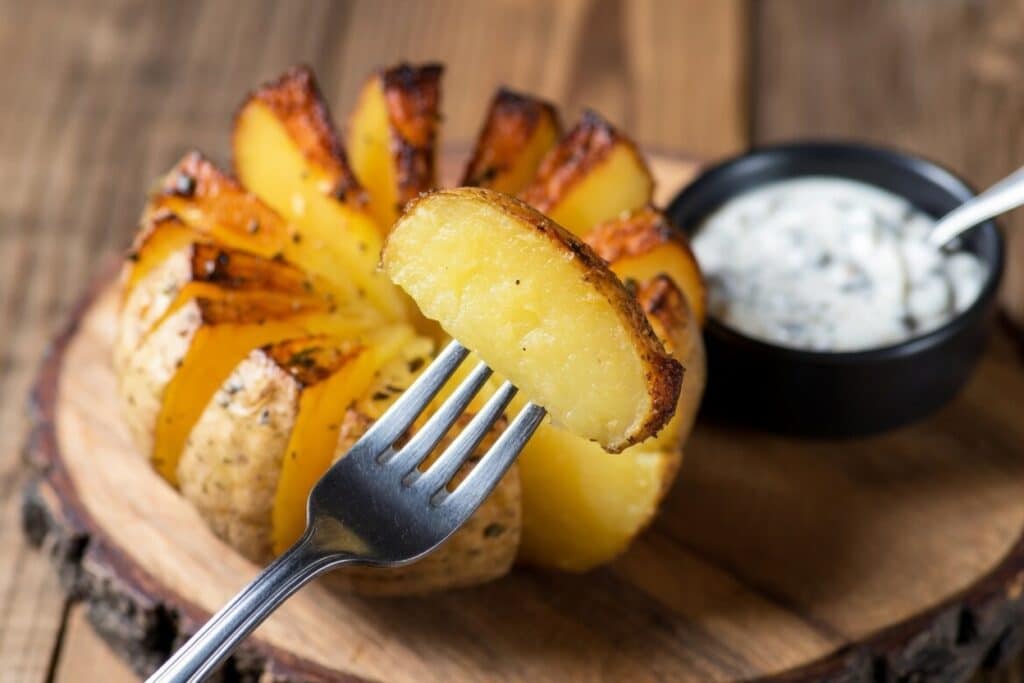
Transfer the bloomed potatoes to a serving platter or board. Serve immediately with the dipping sauce on the side. Let everyone pull apart their own layers — that’s half the fun.
Helpful Tips from My Kitchen
- Yukon golds vs. russets: Russets give you fluffier, starchier insides and crispier skins — ideal for this recipe. Yukon golds are creamier and slightly denser, with a naturally buttery flavor. Both are delicious; russets are my personal pick for maximum crisp.
- Uniform size matters. Try to pick potatoes that are roughly the same size so they all finish cooking at the same time.
- Don’t skip drying the potatoes. Moisture is the enemy of crispy skin. Pat them thoroughly dry before buttering.
- The chopstick trick is non-negotiable. Don’t try to eyeball it — one slip and you’ll cut through. Use the guides every single time.
- Season between the layers. After your first butter brush, use a pastry brush or your fingers to gently work the butter and spices down into the cuts. The flavor inside is just as important as the outside.
Helpful Expert Tips for Best Results
- Roast on the middle rack for even heat circulation. Too close to the top and the skin burns before the inside cooks; too close to the bottom and the skin steams instead of crisps.
- A wire rack inside your baking sheet allows hot air to circulate all the way around the potato, giving you crispier bottoms too — highly recommended if you have one.
- Check for doneness with a skewer, not just by time. A toothpick or thin knife should glide to the center with zero resistance.
- Make the sauce the night before if you’re serving these for a party. It actually improves overnight as the flavors meld together.
Make-Ahead, Storage & Freezing Tips
Make-Ahead: You can score and season the potatoes up to 4 hours ahead, cover them in plastic wrap, and refrigerate. Pull them out 15 minutes before roasting.
Storage: Leftover bloomin’ potatoes keep in an airtight container in the fridge for up to 3 days. The sauce keeps for up to 1 week refrigerated.
Reheating: Reheat in a 400°F oven or air fryer for 10–12 minutes to bring the crispiness back. The microwave works in a pinch but you’ll lose that crunch — so oven is always the better call here.
Freezing: Not recommended for the finished potato — the texture changes significantly after freezing. Best enjoyed fresh.
Fun Variations to Try
Once you’ve mastered the classic, here are some crowd-pleasing twists:
- Loaded Bloomin’ Potato: In the last 10 minutes of roasting, stuff shredded cheddar between the layers. Finish under the broiler, then top with sour cream, bacon bits, and chives. Total game-changer.
- Ranch Style: Swap the spice blend for a homemade ranch seasoning mix and serve with a buttermilk ranch dipping sauce.
- Parmesan & Herb: Brush with garlic butter and press a mixture of finely grated Parmesan, dried rosemary, and thyme into the cuts before roasting. Finish with fresh parsley.
- Spicy Buffalo: Toss the butter with a splash of hot sauce before brushing, and serve with blue cheese dipping sauce.
Follow me on pinterest to see more recipes
Frequently Asked Questions
What type of potato works best for Bloomin’ Potatoes?
How do I cut the potato without slicing all the way through?
Can I make Bloomin’ Potatoes in an air fryer?
Why aren’t my potatoes crisping up?
Try pairing this with our Easy Neiman Marcus Cake for the ultimate comfort food experience!
Conclusion
The Bloomin’ Potato is one of those recipes that looks wildly impressive but is actually completely doable for any home cook, any night of the week. It’s fun to make, stunning to serve, and absolutely impossible to stop eating once you start pulling layers apart.
Whether you’re making these for a party snack, a game-day spread, or just because Tuesday deserves something a little extra — I promise this recipe will not let you down.
Make the sauce ahead of time, score your potatoes with confidence, and get ready for everyone at the table to be seriously impressed.
I’d love to see your bloomin’ creations! Tag us on Pinterest or drop a comment below — it truly makes my day.
Happy cooking, friends.
Print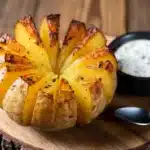
Crispy Bloomin’ Potato Recipe
- Total Time: 70 min
- Yield: 4 servings
- Diet: Vegetarian
Description
A viral Bloomin’ Potato recipe that’s crispy, flavorful, and paired with a creamy dipping sauce.
Ingredients
4 (6 to 8 ounce) russet or Yukon gold potatoes
1 teaspoon garlic powder
1 teaspoon onion powder
1/2 teaspoon paprika
1/4 teaspoon salt
1/4 teaspoon ground black pepper
1/4 cup butter, melted
Sauce
1/2 cup mayonnaise
1/4 cup sour cream
2 tablespoons ketchup
1 tablespoon prepared horseradish
1 tablespoon white vinegar
1 teaspoon garlic powder
1 teaspoon onion powder
1/2 teaspoon paprika
1/2 teaspoon salt
1/2 teaspoon ground black pepper
Instructions
Notes
- Prep Time: 15 min
- Cook Time: 55 min
- Category: Snack / Appetizer
- Method: Roasting
- Cuisine: American